How to Clean Diamond Painting Bits: Practical Tips and a Complete Guide

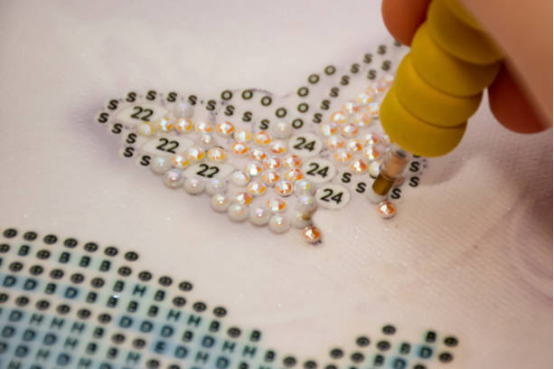
If you’ve been doing diamond painting for a while, you’ve probably noticed that while the drill bits may seem insignificant, even a little dirt can immediately affect the feel of applying the rhinestones and the shine of your artwork. Especially when dust, oil, or static electricity attracts impurities, the drill bits can clump together or even fail to adhere properly. This article will help you truly solve the problem of “how to clean diamond painting drill bits.”
Table of Contents
Why do diamond painting drill bits get dirty easily?
Many people, when encountering a drill bit that isn’t bright enough for the first time, assume it’s a quality issue, but in most cases, that’s not the case. Drill bits get dirty easily because:
- —ifOil or sweat on your hands – if you leave it on for too long, your hands will sweat, making the drill bit surface slippery;
- Dust and lint in the air —especially noticeable for cat owners or people living in air-conditioned rooms;
- Electrostatic adsorption – Resin drills are naturally static-charged, making them particularly prone to attracting impurities;
- —ifImproper storage – if you open and empty the container carelessly, small pieces of trash will quickly get mixed in.
What may seem like a minor issue can actually significantly reduce the gloss of the finished product, so cleaning the drill bit is really necessary.
II. The most practical method for cleaning drill bits
The following methods are based on actual user experience and combined with highly regarded practices found on ranking pages. I have also added some personal tips from my own experience to help you quickly determine which method is best for you.
1. Gentle washing with soapy water (safest and most universal)
If you are worried about damaging the drill bit, this method is 100% safe and can be used with both resin drills and acrylic drills.
How to do it:
- Prepare a bowl of warm water (not too hot).
- Add 2–3 drops of mild dish soap.
- Soak the drill bit in the tea strainer and shake gently.
- After scooping them out, rinse them thoroughly with clean water.
- Lay it flat on a paper towel and let it air dry.
Tip: Do not use a hairdryer, as the hot air may deform some of the drill bits.
2. Quick wiping method with wet wipes (suitable for light stains)
This method is especially suitable for people who are in a hurry.
Simply rub the drill bit on a baby wipe for a few seconds to remove oil stains. Let it air dry before use. While it can’t deep clean, it’s very quick at removing light oil stains.
3. Cornstarch dry washing method (powerful oil absorption)
If the drill bit feels “slippery,” it means it’s covered in grease, and cornstarch works particularly well in this case.
step:
- Pour a small amount of cornstarch into a small bowl;
- Add the drill bit and shake for 10–20 seconds;
- sieve.Shake off the powder using a sieve;
- Rinse with clean water if necessary.
The oil-absorbing effect is very obvious; I was even pleasantly surprised when I tried it for the first time.
4. Wipe with alcohol wipes (for heavy stains, but be careful).
While alcohol can indeed remove oil stains quickly, it is not recommended for large-scale use in diamond painting.
- AB electroplated diamonds: may lose their shine;
- Inferior resin drills may become brittle.
together,”Therefore, use it only when the diamond painting drill bit is really “stuck together”, and be sure to apply it in very small amounts.
5. Dry cleaning and screening method (for large-volume drill bit production)
If you bought those large 500g bags of drill bits, this method is especially time-saving.
practice:
- Shake the sieve box gently a few times;
- The dust will fall off automatically.
- For better results, you can add a few grains of dry rice to absorb moisture.
It cannot handle oil stains, but it is very effective at cleaning dust.
III. Cleaning Precautions for Different Diamond Painting Materials
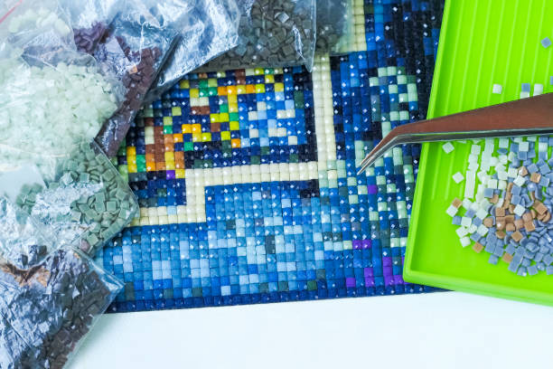
Resin diamonds
- It loses its shine the fastest;
- Do not use alcohol;
- Soapy water is the safest option.
Acrylic drill
- It should be harder;
- There is a slight tolerance to alcohol, but it is still recommended to test on a small scale first.
Generally speaking, when in doubt, using soapy water is always a safe bet.
IV. Drying and Storage Techniques for Cleaned Diamond Paintings
Drill bits are most susceptible to getting dirty again after cleaning, so be sure to pay attention to the following after cleaning:
- damp.Make sure it’s completely dry before storing it (important! It will stick if it’s even slightly damp).
- in.Use compartmentalized boxes or screw-top bottles to prevent dust from getting in;
- dry.Place a small packet of desiccant to keep the diamond painting drill bit cool and dry;
- Store items by color to avoid mixing colors and wasting time.
Although this part may seem basic, it can indeed reduce more than 70% of subsequent problems.
5. How to prevent diamond painting drill bits from getting dirty again?
Prevention is always easier than cleaning. You can try these little habits:
- Wash your hands before applying rhinestones to reduce oil transfer.
- Placing a light-colored cloth on the table makes impurities easier to spot.
- cover.Cover unused drill bits with a dust cover;
- Do not build it in a location where there is a draft or where a fan is directly in front of it.
- Pet owners should pay extra attention to pet hair and lint.
These are all simple-sounding, yet truly effective methods.
Frequently Asked Questions (Q&A)
Q: My drill bit has faded. Is it because of cleaning?
A: In most cases, no, it’s usually a problem with the material itself.
Q: Why did the drill bit become darker after cleaning?
A: It might be water residue. Just rinse it with clean water again.
Q: Can alcohol be used on AB diamonds?
A: Try not to; it will damage the surface.
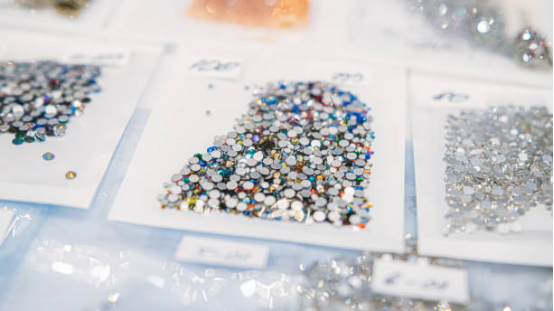
In summary: A clean diamond painting drill bit can significantly enhance the brightness of your artwork.
In fact, most drill bit problems can be solved with simple cleaning. Whether you’re a beginner or someone who’s completed dozens of works, keeping your drill bits clean and shiny will definitely make your diamond painting more exquisite.
Using the five methods provided in this article, you can choose the most suitable approach based on the level of dirt on your drill bit. The techniques are not difficult, but by taking just one extra step, your diamond painting will be twice as bright as others.